
Sunday, 19 October 2014
Fabric Spraying...the easy way!
I've been teaching a textiles class to use leaf stencils to resist fabric spraying on cloth. I particularly loved the sample below that was accomplished using a fern leaf...the colours are just right for the autumn/fall season.

Sunday, 15 June 2014
Blue-bird
Blue-bird
...This
little blue-bird is made out of tie-dyed ribbon and
double-sided heavyweight fusible interfacing. The ribbon used is a
roll of 15mm
wide cotton Twill Tape Ivory from those wonderful folks at
fantasticribbons.com


 A
quick note about tie and dye: It is a 'resist' form of dyeing, which
means that patterns are created by preventing dye reaching the cloth.
To block out the colour uptake, parts of the cloth are either tied
with thread/string, knotted or stitched and the thread pulled up
(tritik). Tied parts retain the original colour of the cloth; so if
for instance white cotton is then dyed blue, the pattern will appear
in white against a blue background. Further tying, untying and then
re-dyeing in a different colour(s) will give more elaborate patterns.
A
quick note about tie and dye: It is a 'resist' form of dyeing, which
means that patterns are created by preventing dye reaching the cloth.
To block out the colour uptake, parts of the cloth are either tied
with thread/string, knotted or stitched and the thread pulled up
(tritik). Tied parts retain the original colour of the cloth; so if
for instance white cotton is then dyed blue, the pattern will appear
in white against a blue background. Further tying, untying and then
re-dyeing in a different colour(s) will give more elaborate patterns.
The essential things needed to tie-dye
are:
- A water supply and a sink
- A work surface covered with plastic
- A waterproof apron and rubber gloves
- Elastic bands – for tying cloth
- Sewing threads
- A pair of scissors
- Dye powder and bottle
- Ribbon ‒ pre-washed
Stay Clean and Safe when Using Dyes:
Dyes do stain. Cover your work
surface with plastic and protect floors with newspaper. Always wear
a waterproof apron. Dyes may irritate skin and eyes. Always wear
rubber gloves when handling dyes and safety glasses if using dye in
powder form. Always use dyes in well-ventilated areas. Avoid
inhaling dry dye powder over an extended period. Wear a mask, if
possible.
Cut several metre long lengths of
ribbon and stitch, tie and dye it, as follows:
 Two rows of baste stitch applied
along a length of ribbon. Knot ends of sewing thread at one end.
Pull threads to gather ribbon and knot remaining ends of threads.
Two rows of baste stitch applied
along a length of ribbon. Knot ends of sewing thread at one end.
Pull threads to gather ribbon and knot remaining ends of threads.
- Spray ribbon with water to dampen it.
- Add water to powder in dye bottle. Replace cap. Shake bottle to dissolve dye.
- Apply dye to ribbon. Do not over saturate it. Apply additional colours, if required.
- Wrap dyed ribbon in cling film and let set for a minimum of 6-8 hours.
- Rinse ribbon. Cut sewing threads and let dry.
 Concertina fold a length of ribbon.
Stitch to secure at 90º to
selvedge. Repeat steps 2 to 6.
Concertina fold a length of ribbon.
Stitch to secure at 90º to
selvedge. Repeat steps 2 to 6. Join two lengths of ribbon using
fagoting stitch. Concertina fold and secure ribbon with elastic
bands. Repeat steps 2 to 5. Rinse ribbon, untie elastic bands and
let dry.
Join two lengths of ribbon using
fagoting stitch. Concertina fold and secure ribbon with elastic
bands. Repeat steps 2 to 5. Rinse ribbon, untie elastic bands and
let dry.


It
was interesting to see the final results of my tie-dye experiments. I
liked the striped effects on the second sample the best, although the
more subtle patterns obtained on the other samples were also
pleasing. The ribbon is good quality, which really helps when sewing
and tying it.
To assemble the blue-bird:
- Cut two bird shapes out of Pellon® Peltex® 72F double-sided fusible ultra firm interfacing.

 Lay
sections of ribbon on one side of the interfacing. Place a small
amount of wool fibre to fill in the gaps. Cover with baking
parchment and iron (cotton setting) to fuse in place. Repeat for the
other bird shape.
Lay
sections of ribbon on one side of the interfacing. Place a small
amount of wool fibre to fill in the gaps. Cover with baking
parchment and iron (cotton setting) to fuse in place. Repeat for the
other bird shape.- Apply free-machine embroidery to each bird shape.
- Stitch bird shapes WS together along the edge, leaving a small gap as shown.
- Insert wadding to pad the bird. Slip stitch to close the gap.
- Use remaining lengths of ribbon to decorate the bird.
 Open
a pack of black and white buttons from fantasticribbons.com You
get approximately 150 buttons in lots of different shapes and sizes
in this pack, so much design inspiration. So go on, get sewing to
give your bird a final bit of decoration! Enjoy your blue-bird.
Open
a pack of black and white buttons from fantasticribbons.com You
get approximately 150 buttons in lots of different shapes and sizes
in this pack, so much design inspiration. So go on, get sewing to
give your bird a final bit of decoration! Enjoy your blue-bird.
Monday, 2 June 2014
Willow Weaving...Something New
It's always good to try something new. This weekend I had a go at the craft of Willow Weaving. The photo is of a bird feeder; this involved weaving five willow withies (long stems of willow) together to make half a feeder and then repeating the process, and finally joining the two halves to make the finished feeder. The willow had been soaked for a few days...this makes it pliable so you can bend it into shape. Would like to learn some more about this fascinating craft!


Saturday, 10 May 2014
'Craft It Now'
I am a contributor to a new book entitled, Craft It Now edited by Shannon Miller and published by F & W Media Inc.
What you need to craft it now!
There you are, enjoying a normal Saturday afternoon, when it hits you, the sudden, inexplicable urge to make something. Whether you're carving a new piece of jewelry or an adorable plush bunny, you'll find something to love in Craft It Now. With more than seventy-five simple projects ranging from crochet to polymer clay and everything in between, this book has you covered when you need a quick craft fix.
What you need to craft it now!
There you are, enjoying a normal Saturday afternoon, when it hits you, the sudden, inexplicable urge to make something. Whether you're carving a new piece of jewelry or an adorable plush bunny, you'll find something to love in Craft It Now. With more than seventy-five simple projects ranging from crochet to polymer clay and everything in between, this book has you covered when you need a quick craft fix.
- Simple step-by-step instructions.
- Projects can be completed in a weekend (or faster!)
- Original projects for papercraft, jewelry-making, needlework and more!

My project is 'Polymer Clay Buttons' on pages 12 & 13. It's a great project to have fun with clay, particularly if it's a medium that's new to you.


The book will go on sale on 30 May 2014, but can be pre-ordered from Amazon - just click on the photos to go to the Amazon store.
Tuesday, 6 May 2014
Guest Blog Post: Bella Crafts Quarterly
Upcycled Crafts: How to Make an Egg Cozy
"Upcycled crafts are all the rave! Today, Anne Glynis Davies show us just what you can make with all those pieces of scrap fabric that you have from previous projects. It’s a great lesson in why you should save your scraps!"
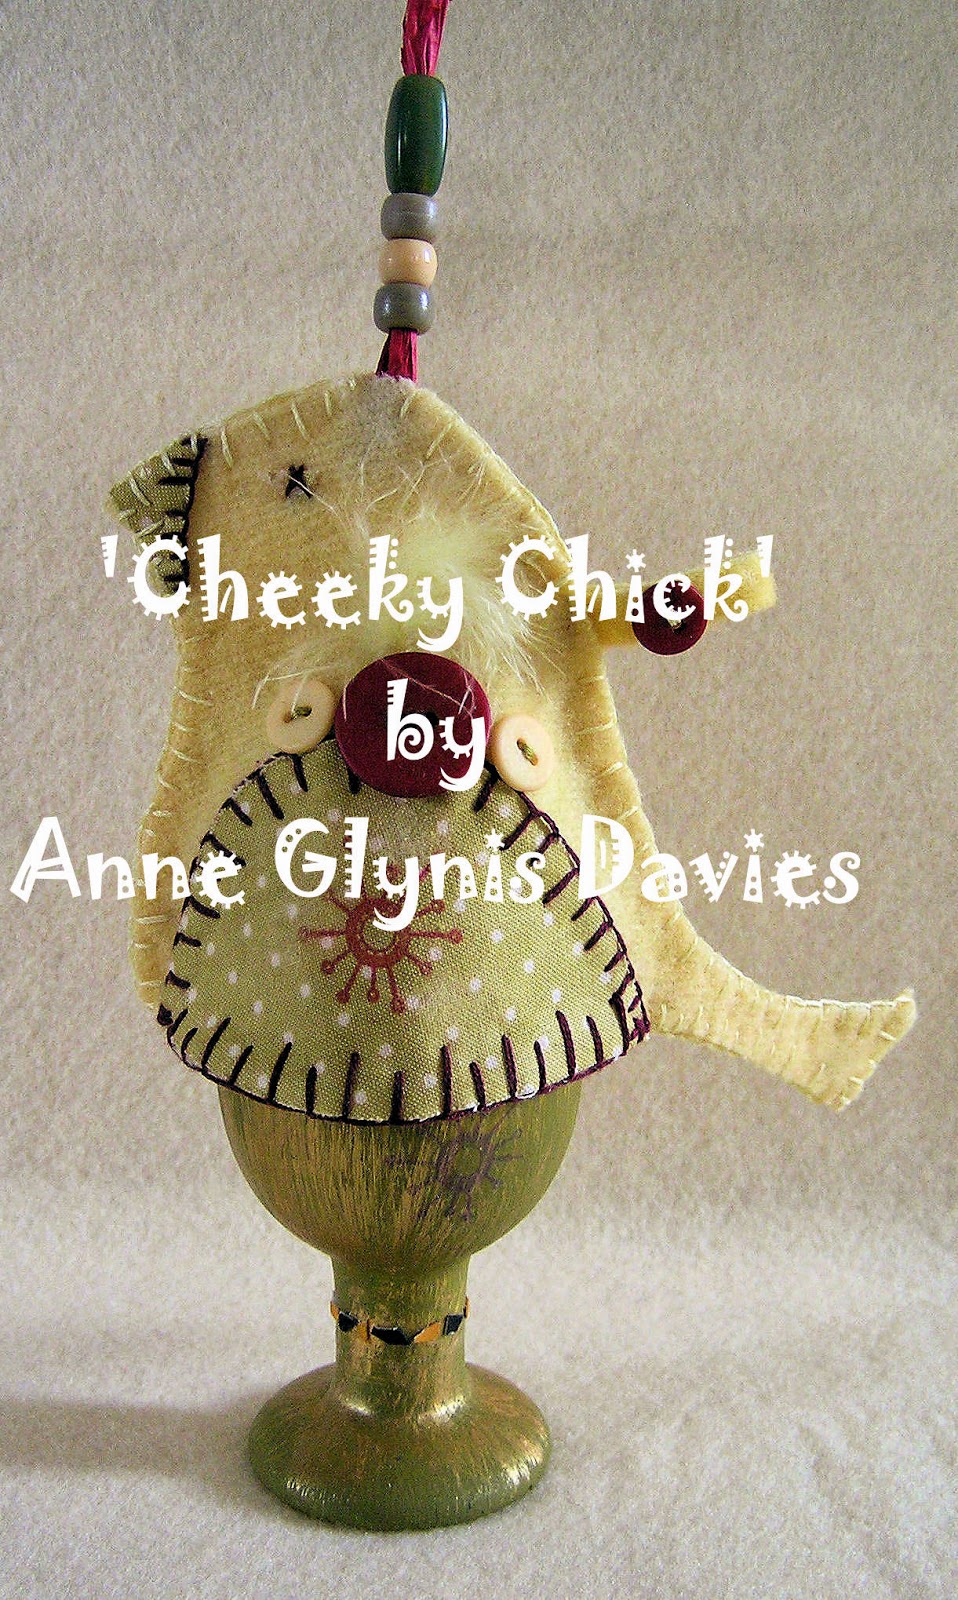
...To read more, click on the image to go to Bella Blog
Thursday, 17 April 2014
10 Facts About All Things Felty
If you're interesting in
wet felt-making, make sure you read these ten felty facts before you
get started:
- Felt – The Oldest Man-Made Textile
Felt
pre-dates knitting, spinning and weaving. Wall paintings found in
Turkey dating from 6500 to 3000 B.C. show a motif of felt appliqué.
It's origins are uncertain, although legends suggest nomads packed
their clogs with pieces of wool fibre to keep warm, which compacted
with friction during wear to create felt.
- Not Just Sheep...Other Animals Too!
Sheep are the main source of animal
fibre used in felt-making, although alpaca, camel, goat and rabbit
are suitable, too. There are more than 200 breeds of sheep worldwide.
Some breeds have fibres that are coarse and hairy such as Herdwick,
whereas Merino produce soft, fine fibres that felt easily.
- It's All In The Fulling
Wool
fibres are covered with overlapping scales. When heat, water and
friction are applied the scales 'open up' and act as hooks that
tangle together. Soap is massaged into the fibres to allow the scales
to slide more readily over one another. As the wool cools and dries,
the scales close up again; locking the fibres together to form a
dense mesh known as felt. During this process known as fulling,
wool fibres can shrink 25-30% from the original.
- Don't Go All The Way...Just Pre-felt It
In
pre-felt the fibres are matted so that the piece just begins to hold
together, yet the scales are still loose enough to felt onto a base
layer of wool fibres. Pre-felt can be cut into squares, circles,
strips etc. and felted into a background of unfelted fibre to create
designs known as inlaid
work.

- 5. So Easy...No Ravel Or Fray
Felt
is
a non-woven textile that does not ravel or fray; so you can felt a
fringe, cut buttonholes or slits and use the natural edge as a hem.
- 6. Go Colour Crazy...Or Not
Undyed fibres are either a natural
off-white or black, the colour of the original fleece. Commercially
dyed fibres range from brights through to soft pastels and neutrals.
Fibres can also be dyed with natural dyestuffs including onion skins,
woad, elderberries and cochineal. To blend fibres of different
colours, use wooden carders to give a subtle mix of shades and tones.
- Jazz It Up...With Yarns And Fibres
Woollen
yarns placed on a fibre base create interesting designs when felted
in. Try splitting the yarns into individual plies to produce a
crimped effect or experiment with using slub yarns. Silk fibres,
metallic fibres such as Angelina®
and synthetic
yarns are also used to decorate felt, although it is a good idea to
sprinkle fine wisps of wool fibre over the different elements to
'trap' them to the background fibre before felting.
- Felt in 3-D
 Wool can be modelled in
three-dimensions without the need for seams. This means you can make
different forms including pods, vessels, cones, bags, purses, hats,
berets, mittens, slippers and smart-phone covers. To create a hollow
form, a plastic resist or template is used to prevent the two sides
of wool felting together.
Wool can be modelled in
three-dimensions without the need for seams. This means you can make
different forms including pods, vessels, cones, bags, purses, hats,
berets, mittens, slippers and smart-phone covers. To create a hollow
form, a plastic resist or template is used to prevent the two sides
of wool felting together.- Nuno...A Perfect Fusion Of Fibre And Fabric
Amazing
textured effects result when fibre and lightweight fabric are felted
together and the wool shrinks to ruche up the cloth. This technique
was first practised in the early 1990s by an Australian fibre artist,
Polly Stirling and her Japanese assistant. The name is derived from
the Japanese word nuno,
meaning cloth.

- 10. You Don't Need To Felt Alone...Join Other Makers
The
International Feltmakers' Association,
is a not for profit organisation established to promote felt. The
association welcomes everyone with an interest in felt-making from
the beginner to the professional; and members receive a quarterly
journal, a forum to network with other members and exhibition
opportunities .
Wednesday, 16 April 2014
back to black
No colour...a big step for me to work in greys and black. Liked stitching this way...will definitely be doing some more sample work using a monochromatic palette. It's so good to do something completely different once in a while.

Subscribe to:
Posts (Atom)